Blog
Vermicomposting
By Alexandra Pettit, AZFB Communications Intern
This is number three of a three-part composting series. Vermicomposting is a different method of composting, thanks to the help of these little guys: worms!
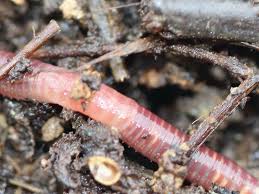
One might think composting with worms is insane, however, it’s a wonderful simple method to reduce household scraps. For this job, any worm won’t work. You need the best of the best: Red Wigglers or Red Earthworms. These worms make the compost equivalent to gold because all they do is eat food and cast (or in other words, poop). In doing so this creates a dark rich soil that is perfect for any garden.
Quick note, this is not the ideal summer composting method because the worms thrive in temperatures between 55-75 degrees. Be sure to keep them at this temperature to ensure the safety of your worms and the ability for them to keep producing rich compost.
Setting up your Vermicomposting bin:
All you will need for this is one large plastic bin (Don’t forget the lid). Make sure that the tub is long and wide versus tall and narrow. Then you will need to take either a drill or a hammer and a screwdriver and poke holes in the lid, as well as the sides of the tub. You need to make sure that there will be plenty of air able to get in, but make sure the holes are small enough that the worms will not be able to escape. After the holes are drilled, add a layer of burlap or something similar that will cover the holes, this acts are a second protective layer to prevent the worms from escaping.
Next, you will need to fill your compost bins with things such as food scraps, shredded newspaper, and your worms. A good rule of thumb is to add about 1 pound of worms to the bin. As wells as adding some moisture to make it damp like a wrung-out sponge. Then cover your bin with the lid and place in a cool place. About every week open the bin and move around all of the contents of the bin. Make sure you always add a layer of sawdust to the top of the pile to help control the smell and help keep the bugs in the bin. This total process should take about two months.
Things to remember:
Make sure that you continue on a weekly basis to turn the compost. Add additional scraps as well as adding moisture to keep the same level of moisture.
In the end harvesting, your compost is very easy. You will know it’s ready when the compost is a rich black or brown color and is moist. Before putting in your garden make sure that you remove all of the worms that you can, so they can keep working.
For more articles like this check out the Fill Your Plate Blog. Looking for some fresh produce? Check out our Farmer’s Market tab to find one near you.


Featured Recipes
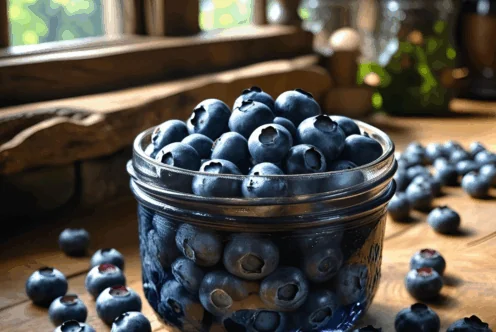
COTTAGE CHEESE & BLUEBERRY BREAKFAST BAKE
Read More

Warm Your Soul Lasagna Soup
Read More
Pear Lime Jello Salad
Read More